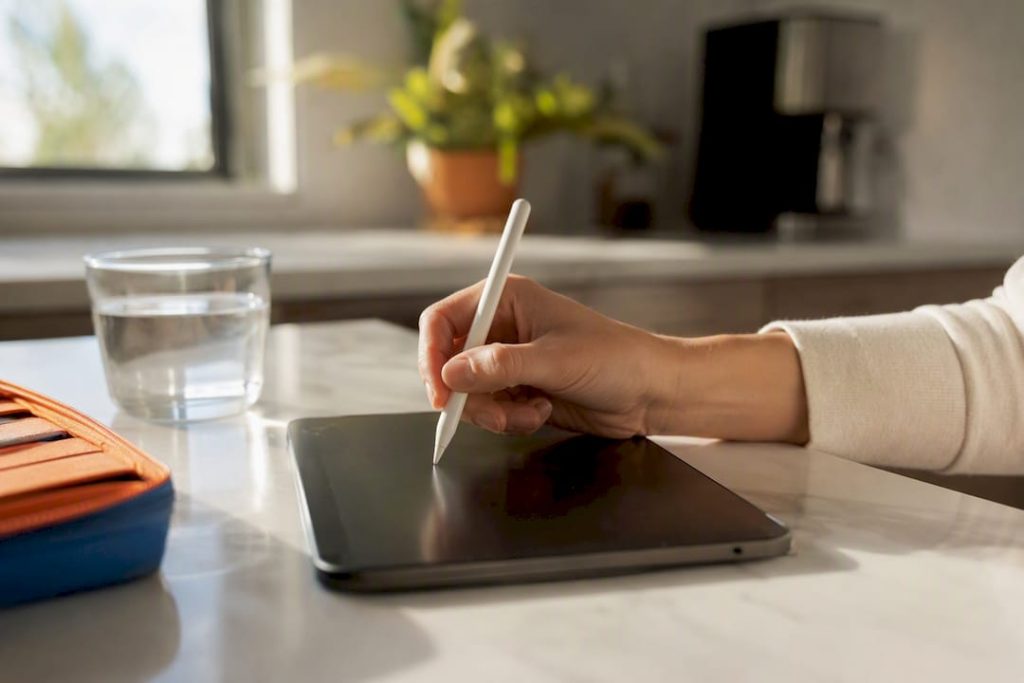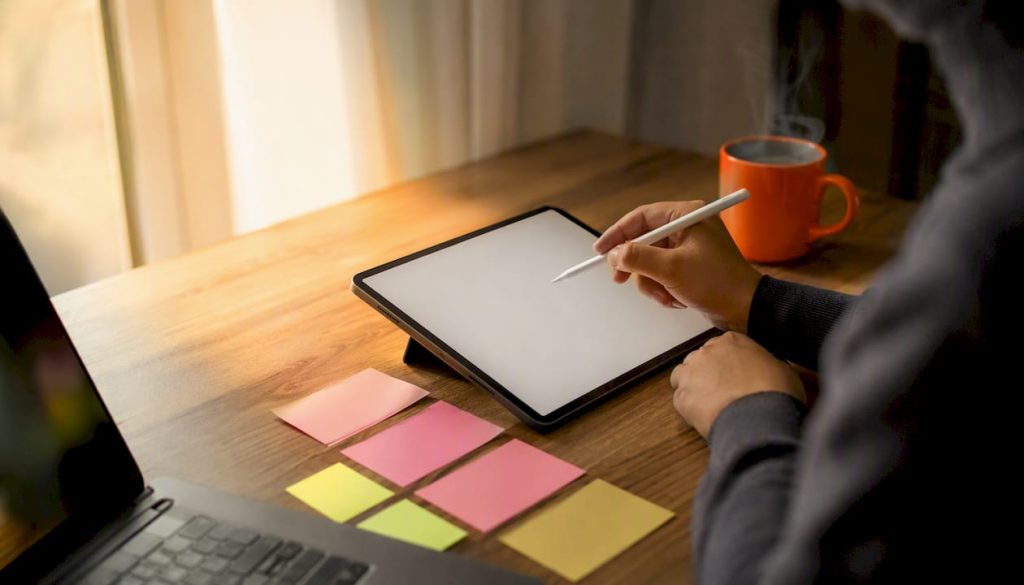
Drawing on a whiteboard online is defined as using a browser-based or app-based digital canvas to sketch, annotate, and collaborate visually with others in real time. Tools like Zoom Whiteboard, Microsoft Teams Whiteboard, and Kami have made this capability standard for remote teams, educators, and individual creators. The industry term for this practice is virtual whiteboarding, and it covers everything from freehand drawing to structured diagramming on a shared digital surface. Whether you are running a weekly sprint planning session or teaching a geometry lesson to 30 students, understanding how these tools work gives you a real advantage.
What tools do you need to draw on a whiteboard online?
The good news is that the hardware bar is low. Any modern device supports virtual whiteboarding, though the experience varies significantly depending on what you use.
Devices and input methods:
- Desktop or laptop computers work well for most platforms. A mouse or trackpad handles basic drawing, though precision suffers compared to stylus input.
- Tablets with styluses (iPad with Apple Pencil, Samsung Galaxy Tab with S Pen) deliver the closest experience to drawing on a physical whiteboard. Pressure sensitivity and palm rejection make freehand work noticeably cleaner.
- Smartphones support most virtual whiteboard apps, but the small screen limits usability for anything beyond quick annotations.
Software and browser requirements are equally straightforward. Chrome and Edge handle the majority of browser-based digital drawing boards without plugins. Firefox works for most platforms, though occasional canvas rendering differences appear. Native apps for iOS and Android generally outperform browser versions on mobile devices.
Internet speed matters more than most users expect. Multi-user sessions with simultaneous drawing generate continuous data streams. A stable connection of at least 5 Mbps download and upload keeps synchronization smooth. Unstable connections cause visible stroke lag, which disrupts the flow of collaborative sessions.

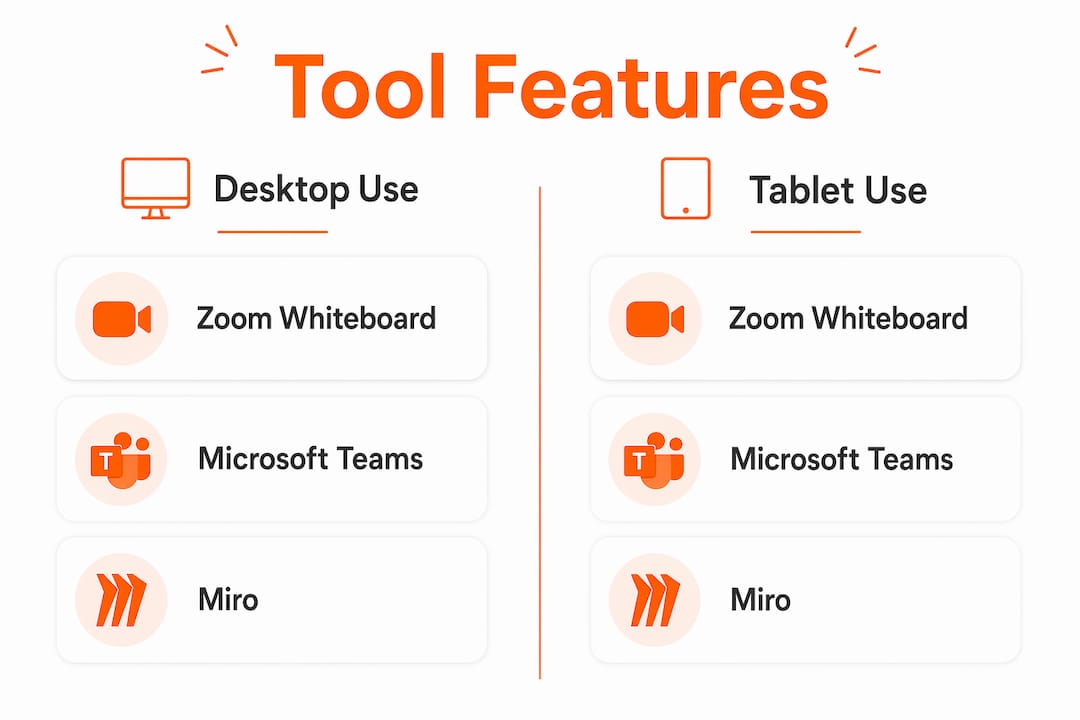
The table below compares the most widely used online whiteboard tools by device compatibility and key drawing features:
| Tool | Desktop | Tablet | Mobile | Key drawing features |
|---|---|---|---|---|
| Zoom Whiteboard | Yes | Yes | Yes | Pen, highlighter, eraser, shapes |
| Microsoft Teams Whiteboard | Yes | Yes | Limited | Marker, ruler, opacity slider |
| Kami | Yes | Yes | Yes | Annotation, freehand, text |
| Onlinewhiteboard | Yes | Yes | Yes | Drawing, diagramming, real-time sharing |
Pro Tip: If you draw on a whiteboard online regularly for teaching or design work, a budget tablet with a stylus (under $200) transforms the experience more than any software upgrade.
How do you draw on an online whiteboard in Zoom and Microsoft Teams?
Both platforms include built-in whiteboard functionality, but the steps and feature sets differ enough to warrant separate walkthroughs.
Drawing in Zoom Whiteboard
- Start or join a Zoom meeting, then click “Whiteboards” in the meeting toolbar.
- Open an existing whiteboard or create a new one.
- Select the Pen tool from the left toolbar. Choose your color and line thickness from the options that appear.
- Draw directly on the canvas using your mouse, trackpad, or stylus.
- Use the Highlighter for emphasis or the Eraser to remove specific strokes.
- To add shapes, select the Shapes tool and click or drag on the canvas.
The most operationally important step for group sessions is managing permissions. Zoom hosts control drawing access through two modes: Collaborating mode allows all participants to draw freely, while Presenting mode restricts drawing to the host only. Switching between these modes takes two clicks, but forgetting to enable Collaborating mode is the single most common reason participants report they “can’t draw” in Zoom sessions.
Drawing in Microsoft Teams Whiteboard
- In a Teams meeting, click “Share” and select “Microsoft Whiteboard” from the sharing options.
- The whiteboard opens in a shared view for all participants.
- Select a marker type from the toolbar. Teams offers three marker colors plus a highlighter, with pen thickness and opacity adjustable via sliders.
- Click and drag to draw. Use the Ruler tool for straight lines, which is particularly useful for diagrams and flowcharts.
- The Eraser tool removes individual strokes or sections of drawing.
Teams Whiteboard gives all meeting participants drawing access by default, which differs from Zoom’s permission model. This openness works well for small, trusted teams but can create chaos in larger sessions or classrooms where session control matters.
Pro Tip: Before any collaborative drawing session, spend 60 seconds testing your pen tool, confirming participant permissions, and drawing a test stroke. Fixing a permission issue mid-session while 15 people wait is far more disruptive than a brief pre-session check.
What are common challenges when drawing on a whiteboard online?
Even with good hardware and a stable connection, users run into predictable problems. Knowing the cause of each issue makes troubleshooting faster.
Permission blocks are the most frequent complaint. A participant opens the whiteboard and finds the drawing tools grayed out or unresponsive. The fix is almost always on the host’s side. In Zoom, the host must enable Collaborating mode for participants to draw. In Teams, check that the session has not been locked or set to view-only by an admin policy.
Latency and synchronization delays appear in sessions with many simultaneous users or weak connections. Real-time whiteboards synchronize drawing as event streams rather than shared bitmaps, which minimizes conflicts. However, high-latency connections still cause visible stroke lag. Reducing video quality during drawing-heavy sessions frees up bandwidth and noticeably improves responsiveness.
Accidental erasure or overwriting happens frequently in open-collaboration sessions. Most platforms support Ctrl+Z (or Cmd+Z on Mac) for undo, but users often do not know this. Establishing a quick verbal or chat-based protocol before the session (“use the text tool for labels, pen for diagrams”) reduces accidental overwrites significantly.
Browser and compatibility issues affect a smaller percentage of users but are harder to diagnose. Canvas-based drawing tools occasionally fail to render correctly in older browser versions or on devices with limited GPU support. Switching to Chrome or the platform’s native app resolves most of these cases.
Pro Tip: For sessions with more than five simultaneous drawers, assign specific zones of the canvas to each person or team. This spatial structure prevents overlap and makes the final output far easier to read and share.
How do you make online whiteboard drawing accessible and inclusive?
Accessibility in virtual whiteboarding is a specialized challenge. Standard webpage accessibility guidelines do not fully cover interactive canvas-based drawing, which requires additional consideration.
The most widely recognized compliance standard for educational technology is WCAG 2.1 Level AA, which Kami explicitly meets alongside Section 508 compliance. These standards address color contrast, keyboard navigation, and screen reader compatibility. For educators selecting a digital drawing board, checking for these certifications is a practical starting point.
The harder problem is that automated accessibility tools detect only 30 to 40% of WCAG failures in canvas-based applications. Drawing interactions like drag-and-drop and freehand strokes require manual testing with real assistive technologies. The tools most relevant for this testing are JAWS and NVDA (Windows screen readers), VoiceOver (macOS and iOS), and TalkBack (Android). A platform that passes automated checks may still fail completely for a student using a screen reader.
Practical recommendations for educators include:
- Offer alternative input methods. Students who cannot draw with a stylus or mouse should be able to contribute via text annotations, sticky notes, or pre-made shape libraries.
- Use high-contrast color schemes. Default whiteboard backgrounds and pen colors often fail contrast ratio requirements for users with low vision.
- Provide keyboard shortcuts. Tools that support full keyboard navigation allow users who cannot use a mouse to participate meaningfully.
- Test before the session. Running a five-minute accessibility check with a screen reader before a class or workshop identifies blocking issues before they affect real students.
Accessibility in online drawing tools is not a checkbox. It is an ongoing practice that requires real testing with real users and real assistive technologies.
For organizations focused on online learning engagement, building accessibility into whiteboard sessions from the start is far less costly than retrofitting it after complaints arise.
Key takeaways
The most effective way to draw on a whiteboard online is to match your tool to your session type, configure permissions before participants join, and test accessibility features before any live session.
| Point | Details |
|---|---|
| Permission setup is critical | Zoom requires hosts to enable Collaborating mode; Teams allows drawing by default for all participants. |
| Device choice affects quality | Tablets with styluses deliver the most accurate freehand drawing experience on any platform. |
| Accessibility needs manual testing | Automated scans miss 30 to 40% of WCAG failures in canvas-based tools; test with JAWS, NVDA, or VoiceOver. |
| Event streaming powers real-time sync | Platforms synchronize strokes as event streams, not bitmaps, reducing conflicts in multi-user sessions. |
| Zone assignment prevents chaos | Assigning canvas zones to participants in large sessions reduces accidental overwrites and improves output clarity. |
Why permission settings matter more than the tool you choose
After working with online whiteboard tools across dozens of team sessions and classroom setups, the pattern that stands out most is this: the tool matters far less than how you configure it before people join.
I have watched well-designed sessions fall apart because a host forgot to switch Zoom from Presenting mode to Collaborating mode. Twelve people sat with grayed-out drawing tools while the host spent five minutes troubleshooting what was a two-click fix. Conversely, I have seen simple, no-frills digital drawing boards produce genuinely useful outputs because the facilitator spent two minutes before the session assigning roles and zones.
The feature that consistently changes the quality of collaborative drawing is cursor presence. Seeing where other participants are drawing in real time creates a sense of shared space that static screenshots or turn-based annotation simply cannot replicate. It is the closest digital equivalent to standing at a physical whiteboard together.
My honest observation on accessibility: most teams and educators treat it as an afterthought. They select a tool, run a session, and only discover accessibility gaps when a student or colleague raises a problem. The smarter approach is to check WCAG 2.1 Level AA compliance and run a five-minute screen reader test before committing to any platform. Kami’s explicit compliance documentation is a good model for what to look for in any tool you evaluate.
For remote teams managing real-time collaboration, the operational discipline around permissions and session structure is what separates a productive whiteboard session from a frustrating one.
— A
Start drawing on Onlinewhiteboard today
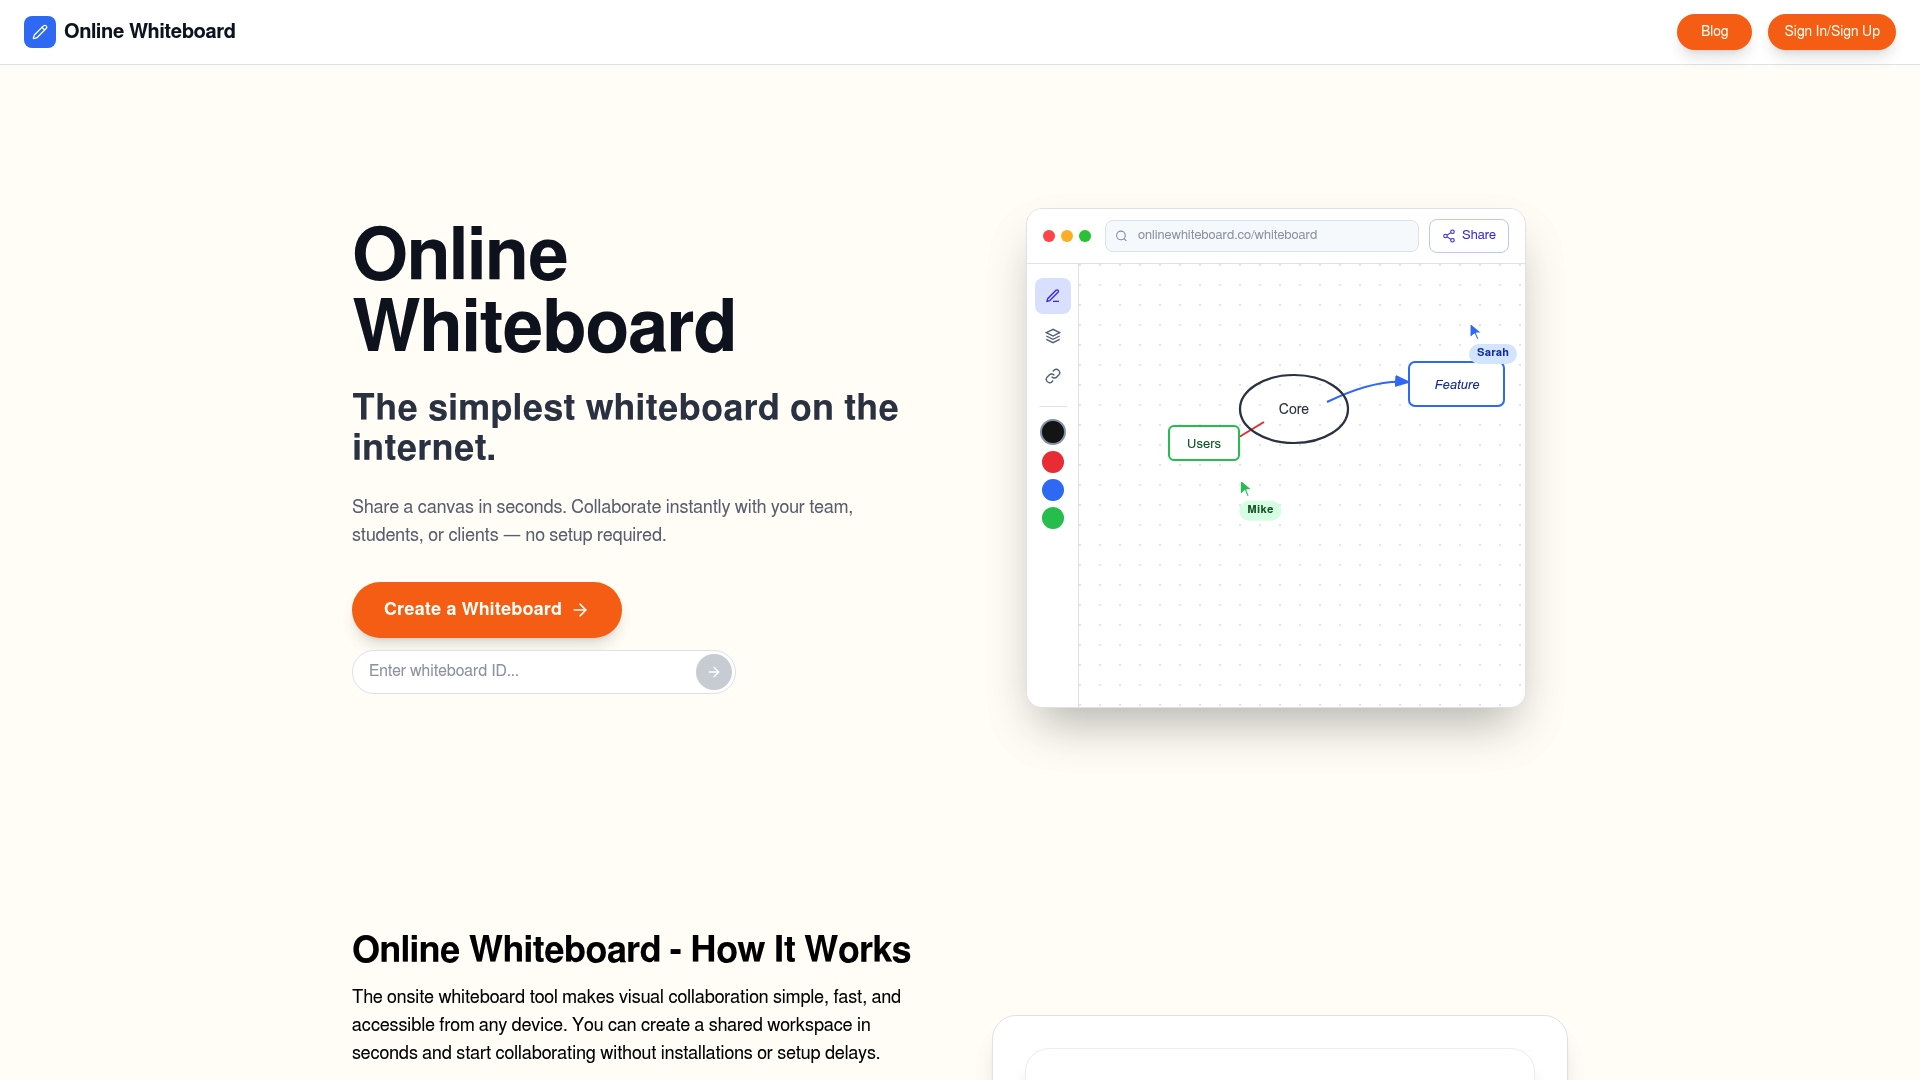
Onlinewhiteboard gives teams, teachers, and remote collaborators a clean, fast digital canvas with no downloads and no complicated setup. You can open a board, invite participants, and start drawing together in under a minute. The platform supports freehand drawing, shapes, text, and real-time multi-user collaboration, making it practical for everything from sprint planning to classroom instruction. Whether you need a free virtual drawing board for a one-time workshop or a reliable space for weekly team sessions, Onlinewhiteboard is built to handle it. Visit onlinewhiteboard.co and start your first session today.
FAQ
What devices work best for drawing on an online whiteboard?
Tablets with styluses, such as the iPad with Apple Pencil or Samsung Galaxy Tab with S Pen, deliver the most accurate drawing experience. Desktop computers with a mouse work well for structured diagrams, while smartphones are better suited to quick annotations.
How do you enable participant drawing in Zoom?
The host must switch to Collaborating mode in the Zoom Whiteboard settings. Presenting mode restricts drawing to the host only, which is the default in many configurations.
Is Microsoft Teams Whiteboard accessible for users with disabilities?
Teams Whiteboard supports basic keyboard navigation, but canvas-based drawing interactions require manual testing with assistive technologies like JAWS or VoiceOver to confirm full accessibility. Automated scans alone are not sufficient for canvas tools.
What is the difference between collaborative whiteboard software and a digital drawing board?
A digital drawing board is a single-user canvas for sketching and annotation. Collaborative whiteboard software adds real-time multi-user access, permission controls, cursor presence, and synchronization features designed for group sessions.
Why does drawing lag in multi-user whiteboard sessions?
Lag typically results from high network latency or insufficient bandwidth. Reducing video quality during drawing-heavy sessions frees up bandwidth. Platforms that use event streaming for stroke synchronization handle multi-user load better than those relying on shared bitmap updates.