
A journey map shows what a person experiences. A story map shows what your team will build in response. Journey mapping is for discovery and empathy, and story mapping is for prioritization and delivery. Most product teams need both, in that order. This guide explains what each map contains, how they differ, when to reach for each, and how to run the two back to back on a shared canvas.
TL;DR
- Journey map: the person’s perspective. It covers steps, decisions, touchpoints and emotions, and it helps you understand a problem.
- Story map: the product’s perspective. It arranges user activities and stories so a team can slice releases and plan sprints.
- Use a journey map first when you don’t yet know where people struggle. Use a story map when you know the problem and need to decide what to build and in what order.
- Best practice: carry the pain points from the journey map straight into the top row of the story map.
- Both are workshop artifacts, so a fast, browser-based whiteboard with no installs is enough to run them with a remote team.
Table of Contents
- What a journey map shows
- What a user story map contains
- The core difference, side by side
- When to use journey mapping
- When to use story mapping
- How to use a journey map and a story map together
- Running both workshops on a shared whiteboard
- Try it on OnlineWhiteboard
- Our perspective: keep the maps light and the conversation heavy
- Common mistakes to avoid
- FAQ
- Sources
What a journey map shows
A journey map follows one person through an experience from start to finish. The U.S. General Services Administration describes it as a picture of a customer’s steps, actions and decisions, the touchpoints with people and systems, and the positive or negative emotions along the way.
The typical layout is a horizontal timeline with swim lanes underneath:
- Stages or phases: for example, discover, sign up, first use, ongoing use, renewal.
- Actions: what the person does at each stage.
- Touchpoints: the website, a support agent, an email, a colleague, a mobile app.
- Thoughts and feelings: often drawn as a line that rises and falls.
- Pain points and opportunities: the places where the experience breaks down and where you could help.
The point is not documentation for its own sake. Federal digital guidance treats journey mapping as a collaborative design-research activity: the team sequences behaviors, information use, decisions and emotions, then uses the insights to set design principles and scope. In other words, the map is a tool for agreeing on what is actually happening before anyone proposes a fix.
A journey map can describe an experience that your product barely touches. A customer’s journey of switching banks, planning a class unit or onboarding a new teammate includes many moments outside your software. That breadth is a feature, because it shows where the real friction lives.
What a user story map contains
A user story map arranges the work needed to support a user’s goal. It looks superficially similar to a journey map, since it also runs left to right in the order a person does things. The difference is what sits in the cells.
The usual structure, popularized by Jeff Patton, has three layers:
- Activities (the backbone): the big things a user does, such as “find a course” or “submit homework.”
- Steps or tasks: the smaller actions under each activity.
- User stories and details: the specific pieces of functionality, stacked vertically under each step, with the most important at the top.
Horizontal lines then slice the stacked stories into releases: a thin first slice that delivers a working end-to-end experience, then later slices that add depth. Because the whole flow stays visible, the team can see gaps that a flat backlog hides, such as a feature that is ready but has no way for anyone to reach it.
A story map is about the solution. Atomic Object, a software consultancy, advises choosing story mapping when a team needs a visual representation of a solution and how it will be built iteratively.
The core difference, side by side
Both maps start with the user, and both are laid out in time order. They answer different questions.
| Journey map | User story map | |
|---|---|---|
| Main question | What is this person experiencing, and where does it hurt? | What should we build, and in what order? |
| Perspective | The person’s experience | The product and what it takes to deliver |
| Typical content | Stages, actions, touchpoints, emotions, pain points | Activities, steps, user stories, release slices |
| Emotion | Central | Rarely shown |
| Scope | Can extend beyond your product | Limited to what your team can build |
| Output | Shared understanding, opportunities | A prioritized, sliceable plan |
| Phase | Discovery and research | Planning and delivery |
| Typical participants | Researchers, designers, product, support, sales | Product, engineering, design, QA |
The shortest summary: a journey map describes the world as the person lives it, and a story map describes the product you will put into that world.
There is also a third artifact that often gets mixed in. A roadmap shows the priorities a team plans to pursue over time. The sequence runs from journey map (reveals pain points), to story map (translates them into product work), to roadmap (commits to timing).
When to use journey mapping
Reach for a journey map when the main thing missing is understanding. Atomic Object’s guidance is to use it when you need to understand a person’s experience, motivations, feelings, pain points or unmet opportunities. Concrete situations include:
- You are starting a new product or feature and have a hypothesis but little evidence about how people handle the task today.
- Metrics show a drop-off (say, many sign-ups never finish setup) and you don’t know why.
- Teams disagree about the problem. Support sees one thing, sales another, engineering a third. Putting the experience on one wall forces a shared picture.
- A process crosses departments, and no single team owns the whole experience.
- You need stakeholder buy-in. A visible line of frustration is more persuasive than a spreadsheet.
Examples across our audience: a product manager mapping how a new customer gets from sign-up to first value, a teacher mapping how a student moves from receiving an assignment to turning it in, a tutor mapping how a parent finds, books and evaluates lessons, or a remote team mapping what happens between a customer request and the answer.
When to use story mapping
Use a story map when the problem is understood and the question becomes what to do about it. Atomic Object’s guidance is to use it when the team is ready to represent the solution, prioritize product work, plan releases or break capabilities into implementable stories. Typical triggers:
- A backlog has become a long flat list that nobody can reason about.
- You need a minimum first release and must decide what “thin but complete” means.
- A new teammate or stakeholder needs to see how the pieces fit.
- Sprint planning keeps producing disconnected tasks that don’t add up to a usable flow.
- Scope is growing and the team needs a visual way to cut it without breaking the end-to-end experience.
The common trap is skipping straight to the story map. If the backbone is built from assumptions rather than evidence, you will efficiently prioritize the wrong things. A prior journey map, even a rough one, is the cheapest protection against that.
How to use a journey map and a story map together
The two methods are not rivals. The journey map supplies the why, and the story map supplies the what and when. Here is a workable sequence for a team that has a half-day or a couple of short sessions.
Step 1: Choose one person and one goal
Pick a specific persona or segment and a specific scenario, for example “a first-time tutor sets up a weekly lesson with a new student.” Maps that try to cover everyone become vague.
Step 2: Draw the journey
List the stages across the top. Under each, add actions, touchpoints and a note on how the person feels. Use real evidence where you have it: interview notes, support tickets, session recordings, survey comments. Mark guesses differently from facts so you know what to validate.
Step 3: Mark pain points and opportunities
Place a distinct sticky note at each moment of friction or confusion. Then vote. Three or four high-impact pain points are more useful than twenty equally weighted ones.
Step 4: Translate the journey into a backbone
This is the handoff. Take the stages and actions from the journey map and rewrite them as user activities in the top row of the story map, in the user’s words. The pain points tell you which activities deserve the most attention.
Step 5: Add steps and stories under each activity
For each activity, ask what the user needs to be able to do. Write stories in a consistent format and stack them in priority order, the most essential at the top. Keep the emotional insight attached: a story such as “see a confirmation after booking” is stronger when it points back to the anxiety recorded in the journey.
Step 6: Slice a first release
Draw a horizontal line across the map so that everything above it forms a thin, usable path from the first activity to the last. Resist the temptation to finish one column completely before touching another. Below the line, draw the next slice and the one after.
Step 7: Check the slice against the journey
Walk the person through your first release and ask whether the worst pain points are actually relieved. If not, move stories up or revisit the journey. Later, return to the journey map after launch and update it with real behavior, closing the loop.
Running both workshops on a shared whiteboard
Both exercises rely on spatial thinking: columns for stages, rows for layers, notes that can be moved at will. That is why they work so well on a whiteboard and so poorly in a slide deck. For a remote or hybrid team, a few practical points help:
- Prepare the frame before people join. Draw the stage headers and swim-lane labels in advance so the first ten minutes aren’t spent aligning boxes.
- Use color consistently. One color for actions, one for pain points, one for ideas, one for stories. Add a legend in a corner.
- Give the canvas room. Story maps get wide quickly, and infinite zoom lets you zoom out to see the whole backbone and zoom in on a single column.
- Time-box silent writing first. Everyone adds notes alone for a few minutes before discussion, which prevents the loudest voice from setting the map.
- Export at the end. Save the board as an image or document so the decisions sit alongside your tickets and meeting notes.
If you want more ideas for choosing a tool for this kind of work, our guide to online whiteboard tools for teams covers what matters when a team collaborates in real time, and our overview of the best online collaborative whiteboard platform goes into the features to look for.
Try it on OnlineWhiteboard
OnlineWhiteboard.co is a browser-based canvas for real-time visual collaboration. There is nothing to download or set up: you open a board, share the link, and your team can draw, write and diagram together from any device, including a phone. That makes it a practical place to sketch a rough journey map in a stand-up or run a full story mapping session with remote colleagues. You can start a board on OnlineWhiteboard and have the first stage headers up in a minute or two.
Our perspective: keep the maps light and the conversation heavy
We build a whiteboard, so we watch how people actually use these maps, and the pattern is consistent. Teams rarely fail because they picked the wrong template. They fail because setup is heavy: someone has to install something, create accounts, fix permissions, and by the time the canvas is ready the energy has gone.
That is why we designed the product around instant access, a lightweight interface and real-time collaboration from any device. A journey map is a thinking tool, and a thinking tool should be as quick to start as a marker and a wall.
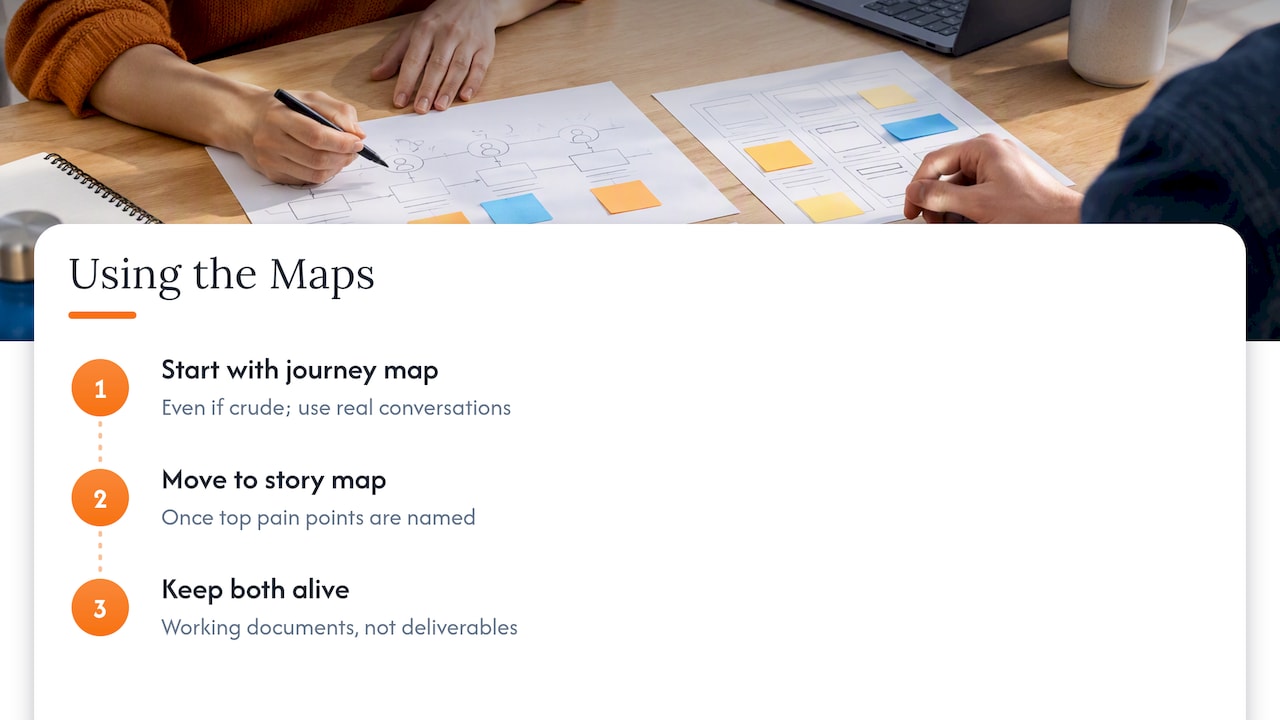
Our view on the two methods is simple. Start with the journey map even if it is crude, because a rough map built from a few real conversations beats a polished story map built on assumptions. Then move to the story map as soon as the team can name the top pain points, because understanding that never turns into a plan is just a nice poster. And keep both maps alive. They are working documents, not deliverables, and the best boards are the ones teams return to, move notes around on and argue over.
For teachers and tutors the same logic applies at a smaller scale. A student’s journey through a unit and a story map of the lessons you will build for it use the same moves, and a shared board makes both visible to the learner too.
— A
Common mistakes to avoid
- Mapping everyone at once. A map with five personas is a map of nobody. Pick one.
- Treating the journey map as a poster. If it doesn’t change a decision, it was a decoration.
- Writing stories as features. “Add filter dropdown” hides the goal. “Find lessons that fit my schedule” keeps it.
- Slicing by layer instead of by flow. Building all the screens, then all the logic, delivers nothing usable until the end. Slice thin, end to end.
- Never revisiting the maps. After launch, update the journey with real data and refresh the story map with what you learned.
- Confusing it with process mapping. A process map documents the steps of how work gets done inside an organization, usually from the organization’s side. A journey map takes the person’s side, including their feelings and what happens outside your system.
FAQ
Is a journey map better than a story map?
Neither is better, because they do different jobs. A journey map builds understanding of a person’s experience, and a story map turns a chosen solution into a plan a team can deliver. If you can only do one, choose based on what you lack: understanding or a plan.
What is the purpose of story mapping?
Story mapping keeps the whole user flow visible while a team breaks work into stories and orders them by priority. It makes it easier to define a thin first release, spot gaps and plan sprints without losing sight of the overall experience.
What does journey mapping mean?
It means visualizing the stages a person goes through to reach a goal, along with their actions, the touchpoints they use and how they feel. Government guidance on customer journey maps frames it as steps, decisions, touchpoints and emotions from start to finish.
Can I use the same board for both maps?
Yes, and it is often helpful. Draw the journey map in the top half and build the story map beneath it, so each activity lines up with the stage it came from. Keep the colors distinct so people can tell experience notes from build stories at a glance.
How long should a mapping session take?
A focused journey map for one persona and one scenario can fit in 60 to 90 minutes, and a story map for a single release often needs a similar block or a second session. Shorter, scoped sessions beat one marathon, especially for remote teams.
Sources
- What Is a Customer Journey Map? (U.S. General Services Administration)
- Map your users’ and system’s journeys (Digital.gov)
- Untangle Journey Maps from Story Maps (Atomic Object)